Time Machine
1. Plug in a Thunderbolt or USB drive to your MacBook Pro. It is strongly suggested that the drive be properly formatted using the "Mac OS Extended" file format.
If you need further details on this: click here
2. In your MacBook go to the Apple Icon > System Preferences > Time Machine
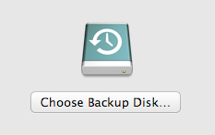
3. Click on "Choose Backup Disk"
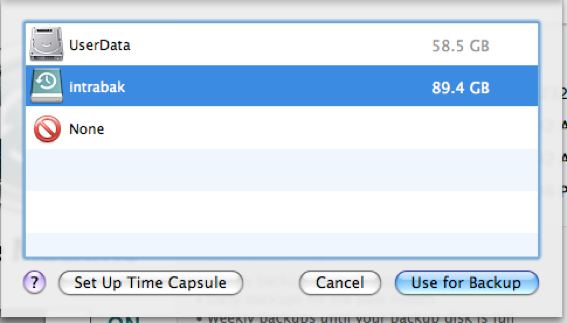
4. Select your external USB or Thunderbolt drive from the list, then click "Use for Backup"
5. Time Machine will count down until it begins its first back up. Once it starts, let it run until finished.
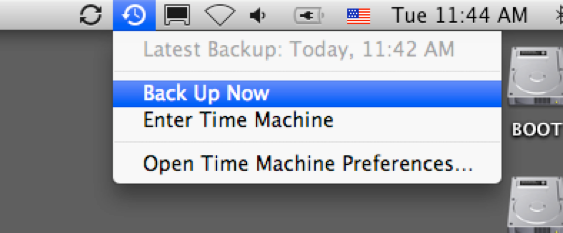
6. To run future backups, plug in the external drive at a later date/time. Click on the Time Machine icon in the upper right of the screen and choose "Back Up Now".
Restoring from a Time Machine Backup
Unlike backing up to Time Machine restoring is a slightly different case. Here is a list of instances in which you CAN'T use a Time Machine backup to restore your data.
- If you have recently updated your computer with Help Desk to a brand new operating system
- If you restored your computer due to a software failure
- If you are using a Windows computer
If you however, have restored your computer to the exact same OS that was used during the backup, you may proceed with Time Machines provided "Restore" function. If you have further questions on the matter please feel free to stop into Help Desk.