If any part of your print needs to touch the edge of the paper, you really need to include a BLEED in your document.
A bleed is a little extra buffer zone, which gives printers a margin of error. Machines are not infallible, and neither are the people who run them.
There are small variations throughout the printing and trimming process that result in a small amount of movement of the artwork on the sheet; Paper stock can be slightly different sizes, the paper can skew as it is pulled into the printer, printed stacks are not jogged 100% correctly before trimming, alignment of images on the front and back of a sheet may be slightly off even with extra fine tuning. Any or all of these combine to create a small amount of movement on the sheet. You can almost always count on just about 1mm (around 1/16”) to 5mm (around 1/4”) shift.
We strive to minimize these slight variations, and some printing techniques are more prone to shift than others, but it is just a fact that it happens. This is an industry standard, and most print shops will require you to include a bleed to compensate.
We recommend including a minimum 5mm (1/4”) bleed in all printed materials where the intention is for the artwork to touch the edge.
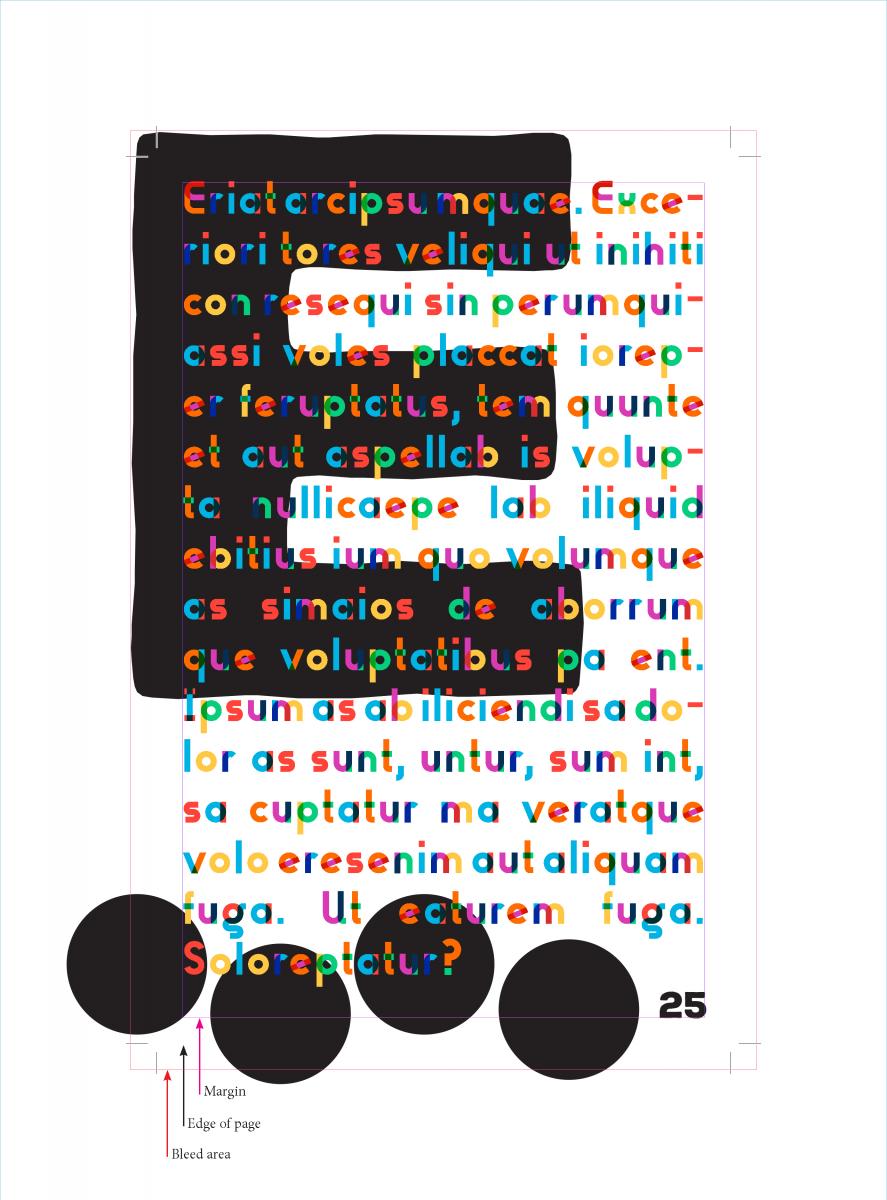
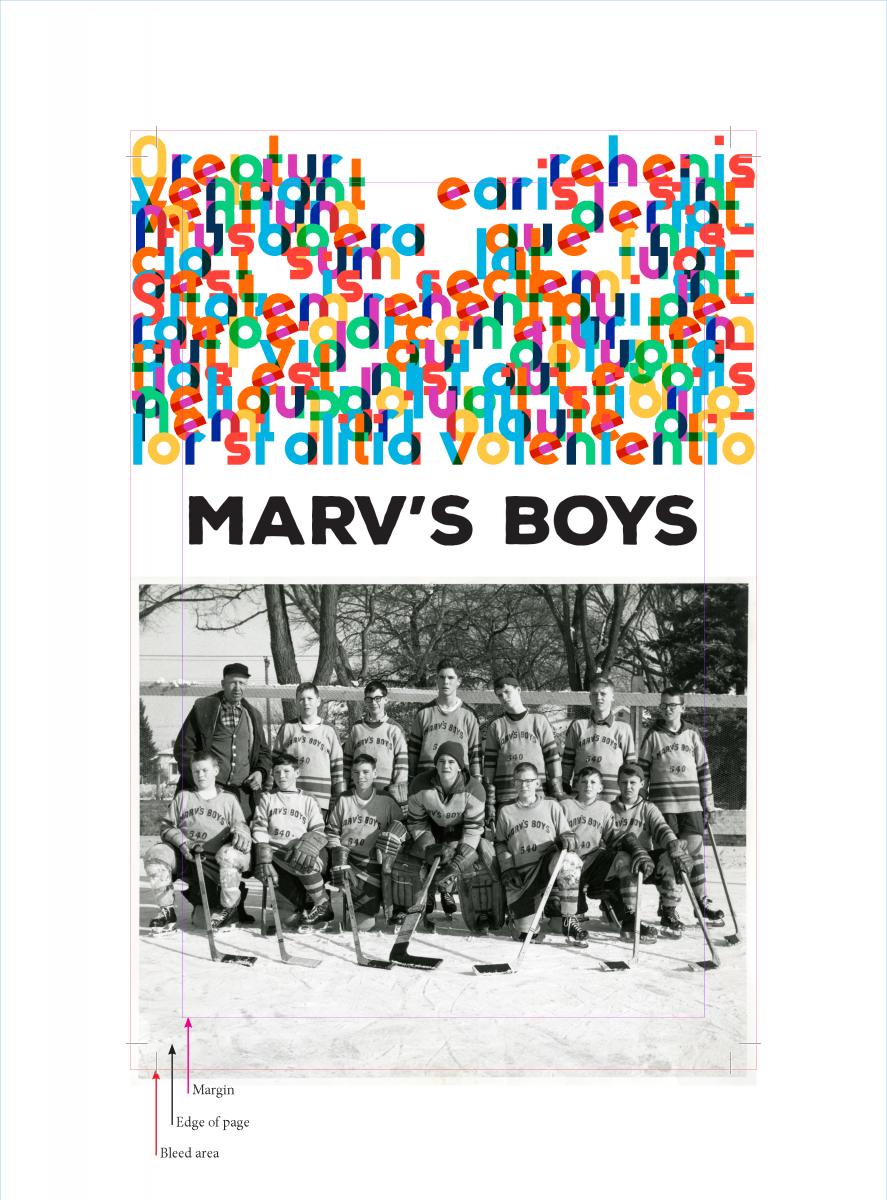
Here are a couple examples of including a little extra artwork in the BLEED area, outside of the trim ares (intended edge of page):


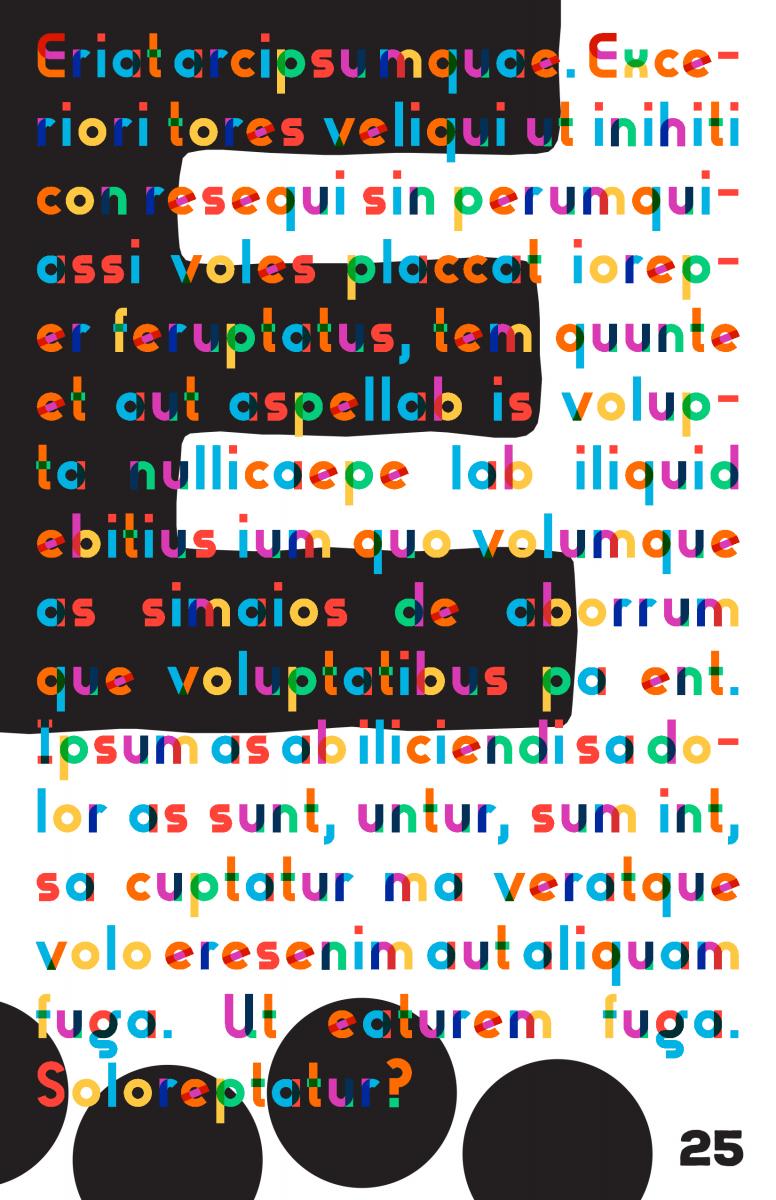
This is what the final printed/trimmed product would look like:


Note also: important details (such as page numbers, faces, and body text), are kept within the MARGIN bounds, we recommend making this area the same size as your bleed (around 5mm or 1/4") to allow for a little extra margin of error.
You can add a bleed to an image which was not created with printing and trimming in mind; by adding a bit of neutral color, or using the content aware fill feature in photoshop to add a bit of superfluous image to the edges. It is okay if it doesnt look perfect, it will mostly be trimmed off!

